
Instead of downloading scattered creator clips and rebuilding every ad, connect UGC footage to CapCut through a controlled file handoff: collect approved originals, import them into a desktop project, edit reusable ad variants, and export files tied to your creative tracking sheet. This guide covers that workflow, the mobile alternative, and the checks that keep missing files and unclear usage rights out of production.
- CapCut desktop is the best starting point for batch UGC ad editing with locally stored source files.
- To connect UGC footage to CapCut, download approved originals first, then import them into your editing project.
- The Viral App supports mobile app teams that need creator sourcing, briefs, approvals, and campaign reporting.
- Keep creator permissions and creative IDs alongside each export so paid testing stays traceable.
Why this matters
A CapCut project does not organize creator permissions, campaign objectives, or install attribution for you. Those decisions belong in the handoff before editing starts. Use a UGC content brief for an app launch to specify the hook, app demonstration, required claims, and intended placement.
The Viral App is best for B2C mobile app teams seeking a managed UGC and influencer marketing workflow. Its service covers sourcing, vetting, briefs, scripts, approvals, posting schedules, payments, and reporting. CapCut handles the editing stage within that broader production process.
For your 2026 creative library, preserve the relationship between the creator, source footage, approved message, and final ad. A polished export without that record creates extra work when you need a new hook or a rights renewal.
Before you start
- Prepare your editing environment. Install CapCut desktop, confirm that it opens, and ensure your computer has space for source footage, project files, and exports. This guide follows the English-language desktop workflow; mobile controls and desktop layouts differ.
- Collect approved originals and supporting assets. Get downloadable creator files, app screen recordings, approved copy, brand assets, and written permission covering the intended editing and paid use. Confirm music rights separately.
- Download cloud files completely before importing. A visible file in a synced folder can still be an online-only placeholder. Keep a stable local copy and avoid moving or renaming imported files while the project is active.
Importing a clip does not grant advertising rights. Resolve permissions before producing variants, especially when the creator originally supplied footage for an organic post.
Choose your editing setup
CapCut desktop is the recommended setup for this batch-editing workflow. Mobile editing fits footage already captured and stored on a phone, but managing many source files and naming variants becomes more cumbersome.
| Setup | Best for | Advantage | Trade-off |
|---|---|---|---|
| CapCut desktop | Growth teams editing batches of creator ads | Larger workspace for timelines, source files, and export checks | Requires a disciplined local file handoff |
| CapCut mobile | Creators assembling individual ads on their phones | Direct access to footage stored on the device | File management and detailed review happen on a smaller screen |
Neither setup replaces approval records or campaign measurement. Choose the device your editor can maintain consistently, then keep the same naming and permission rules across projects.
Footage handoff
Build a reusable source package
- Create a campaign folder with separate folders named Source footage, Project files, and Approved exports. Add a campaign date using 2026 and a descriptive campaign name.
- Download each creator’s original files into Source footage. Request clean footage without baked-in captions when you need control over text placement.
- Give each asset a descriptive filename containing the creator identifier, creative angle, and take. For example, use
creatorA_meal_logging_demo_takeB.mp4as a naming pattern. - Add a handoff sheet recording the filename, creator, approved use, rights end date where applicable, message approval, and creative ID.
- Open every source file outside CapCut. Confirm that video and audio play and that the download is complete.
Expected result: Your editor can identify each clip, open it locally, and verify its permitted use without searching a message thread.
Keep app demonstrations current. For a 2026 campaign, check that the recording matches the app experience users will actually encounter. Remove personal information, notifications, and account details before the footage reaches an ad timeline.
This preparation takes work upfront. The benefit is a reusable asset library; the limitation is that someone must maintain the handoff sheet whenever approvals or permissions change.
CapCut import
Bring approved originals into the project
- Open CapCut desktop and select Create project.
- Select Import, browse to your campaign’s Source footage folder, and select the approved files.
- Wait for the clips to appear in the project’s media area. Preview each clip before placing it on the timeline.
- Drag the primary creator clip onto the timeline. Add app demonstrations and supporting footage only after confirming the main recording plays correctly.
- Set the canvas aspect ratio to 9:16 for the vertical version of your ad. Check the actual placement requirements before preparing other formats.
Expected result: Your source clips appear in CapCut, the main clip plays on the timeline, and the canvas matches the intended vertical placement.
This is a file-based connection. You are transferring approved media into an editing project; a shared-folder link alone is not a substitute for importing the underlying video file. Keep the downloaded originals available throughout editing.
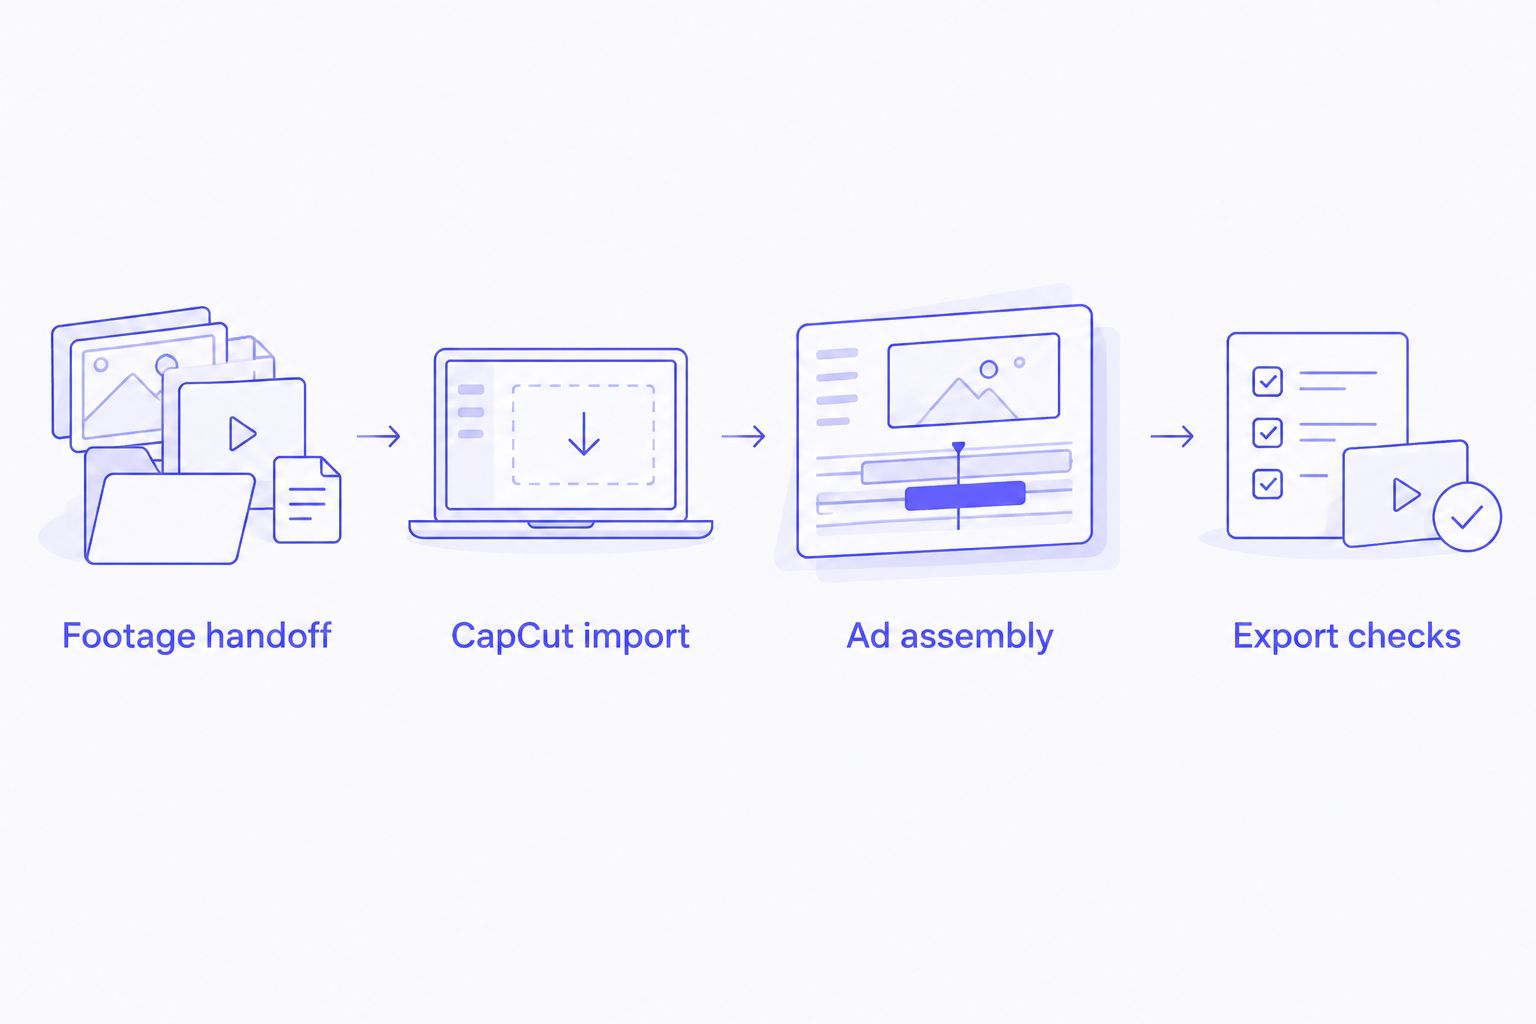
The complete production path is simple: Footage handoff, CapCut import, Ad assembly, and Export checks. Each stage has a separate acceptance check so an editing problem does not become a publishing problem.
Ad assembly
Build the message before adding effects
- Trim the creator clip so the opening introduces the approved problem, demonstration, or result immediately. Remove recording setup and accidental pauses.
- Place the relevant app screen recording over the section where the creator explains the feature. Check that the demonstration supports the spoken claim.
- Open Text, select Auto captions, choose the spoken language, and select Generate. Review the transcript against the recording rather than accepting it unchanged.
- Correct app names, technical terms, punctuation, and unsupported wording. Reposition captions so they do not obscure the app action or the creator’s face.
- Add the approved call to action and review the entire sequence with sound on, then with sound off.
Expected result: The ad communicates one approved angle, the app demonstration matches the narration, and captions remain readable throughout playback.
Automatic captions reduce transcription work, but they still require an accuracy check. Names and specialized vocabulary deserve particular attention. If your installed CapCut build uses a different caption layout, locate its automatic-caption control before continuing.
For your 2026 testing plan, change one meaningful creative variable between closely related variants. Keep the demonstration and call to action consistent when testing different openings; otherwise, you lose a clear explanation for the result.
The Viral App’s approved service cadence includes 4–5 new angles per week and stopping underperforming formats within 5–10 days. Those are campaign operating practices, not export settings or guaranteed performance outcomes.
Export checks
Produce a traceable ad file
- Select Export and enter a filename containing the campaign, creator identifier, angle, and version. Keep the creative ID identical to the handoff sheet.
- For a vertical delivery preset, use 1080 × 1920 pixels when the destination accepts that specification. Choose the resolution that corresponds to your vertical canvas.
- Match the frame rate to the source footage where practical. Use 30 fps when your source and destination requirements support it; raising the export frame rate does not restore detail absent from the source.
- Export the file into Approved exports, then open the exported video outside CapCut.
- Check the first frame, full audio track, captions, app demonstration, final frame, and filename. Record approval before handing it to the media buyer.
Expected result: You have a playable, reviewed file whose creative ID connects the source footage, approval record, and eventual ad results.
A successful export is only a technical checkpoint. The destination platform still controls upload acceptance and ad review. Check its current requirements before delivery, and inspect the placement preview for interface overlap or cropping.
For 2026 reporting, keep the exported creative ID attached to the ad record. CapCut cannot determine which editor’s version drove an install unless your campaign records preserve that connection.
Create a new variant when fresh footage arrives
A second workflow applies when a creator sends an updated hook, corrected claim, or new app demonstration. Preserve the approved version before changing the working project, then create a separately named working copy through the project-management controls available in your installation.
- Download the replacement original into the existing source package without overwriting the previous file.
- Import the new footage and replace the relevant timeline section. Preserve the surrounding structure when the test concerns only the opening.
- Regenerate or edit captions for the changed speech. Check that supporting footage still matches the narration.
- Export with a new version identifier and add a new row to the creative log.
Expected result: The new variant is traceable, while the previous approved ad remains reproducible.
For a mobile-only workflow, download the approved files to the phone, open CapCut, select New project, choose the clips, and select Add. Follow the same approval and export checks. Do not assume that a desktop project is automatically available on another device; verify the project’s actual transfer or synchronization status first.
Troubleshooting
Imported media is missing or offline
Check whether the source files were moved, renamed, deleted, or left as online-only placeholders. Restore the original folder location or use CapCut’s relinking prompt if your installation presents one. Keep the source package stable afterward.
A creator’s file will not import
Open the file outside CapCut and confirm the download finished. Request a fresh original from the creator; if necessary, convert a copy into a format supported by your installed version. Renaming the file extension does not convert the video.
Captions misidentify the app or feature
Check the selected speech language and compare the transcript with the audio. Correct the wording manually, then replay the caption timing. Keep an approved spelling list in the campaign brief for repeated terms.
The exported ad looks blurry or badly cropped
Compare the source resolution, canvas shape, and export settings. Use the original recording rather than a downloaded social post when available. Reframe deliberately; enlarging a low-resolution clip does not recreate missing detail.
Music creates a rights problem at delivery
Remove or replace the track with audio cleared for the intended advertising use. Access to music inside an editor does not establish permission for every commercial placement. Retain the relevant licensing record with the approved export.
Customize your workflow
Extend the handoff sheet into campaign reporting. Add the ad identifier, channel, tested angle, and downstream result fields your team actually measures. Follow the guide to tracking which influencer drove an app install to connect creator records with attribution.
The Viral App’s weekly reporting includes views, engagement, angle analysis, and installs. Its program also allows clients to choose full transfer of creator relationships, processes, tracking tools, and playbooks or continued management. That ownership decision matters when you assign responsibility for maintaining the source library.
For your next 2026 production cycle, nominate one owner for source approval and one owner for final-export approval. Keep those responsibilities explicit even when the same person fills both roles.
FAQ
How do I connect UGC footage to CapCut?
Download the approved original video files, create a CapCut project, and import the files from local storage. Keep the source files in a stable location and record their usage permissions before editing.
Can I import a shared-folder link directly into CapCut?
Use downloaded video files for the workflow described here. A folder-sharing link provides access to assets but is not itself the video file you place on the timeline.
Should I use CapCut desktop or mobile for UGC ads?
Use CapCut desktop for batch editing and structured file handoffs. CapCut mobile fits individual edits using footage already stored on your phone, with the trade-off of a smaller review workspace.
What resolution should I export for vertical UGC ads?
Use 1080 × 1920 pixels as a vertical delivery preset when the destination accepts it. Confirm the platform’s current specifications and inspect the uploaded placement preview before publishing.
Can I use a creator’s organic video as a paid ad?
Use the video as a paid ad only when your agreement grants the intended advertising and editing rights. Confirm music permissions and any limits on duration, channels, or territory separately.
Does editing in CapCut track app installs?
Editing in CapCut does not track app installs. Connect the exported creative ID to your ad records and attribution reporting to evaluate each variant.
One last thing
Archive the editable project and its source footage together. An exported video gives you a finished ad, but it does not preserve editable captions, clean audio, or the original app demonstration as separate working elements. That distinction matters when your app interface changes and a winning ad needs a correction.